How To Make An Interesting Educational Video? – 2024 Guide

You don’t have to finish courses and spend a lot of money on equipment to produce a useful video tutorial. Everyone can make a high-quality training video for little money. An amateur or professional video camera and microphone are enough for this.
But first, let’s figure out what video tutorials are. There are usually three types of training videos:
- A screencast is a recording from a computer screen and a voiceover that comments on what is happening in the video. Great genre if you need to teach viewers how to use Photoshop or any other computer program.
- Video accompaniment or video with a talking head, when a person sits in front of the camera and reads the text. This format is usually used to complement a PowerPoint presentation when you need to annotate slides.
- The video tutorial is a short educational video. The format is similar to a TV show. Think of any cooking program or science experiment. Video tutorials are distinguished by rich video sequences and ideally thought-out plots of the work.
Next, we will tell you life hacks and what you need to shoot a tutorial or video accompaniment. Go!
Use a good microphone

Sound is the Achilles’ heel of a screencast. Smartphones can shoot videos with acceptable quality – many of the modern models support Full HD with an extension of 1920 x 1080 dpi. Soffits can be made by hand, and you can order them from China at an affordable price. Chromakey is generally a piece of green fabric. But the sound is the only thing you shouldn’t skimp on.
Here, of course, you need to experiment. Perhaps it will be possible to achieve more or less good quality with a simple, cheap microphone. If not, go shopping! But, unfortunately, another problem is that it is impossible to connect an excellent microphone to a computer. And the quality of your computer’s audio card simply will not allow you to reveal all the microphone capabilities. Therefore, you need to think about buying an external sound card in addition to buying a microphone.
Before recording a voice, you should think over and write a script. To do this, you can contact a writing service whose specialists will write you an exciting and thoughtful script. For more information, check BestCustomWriting.com.
Diversify your video, but don’t overdo it!

Your video doesn’t have to be boring. To diversify the video sequence, the following techniques are often used:
- Change of scale (zoom in or out of the camera);
- Change of shooting angle;
- Various transitions between video fragments.
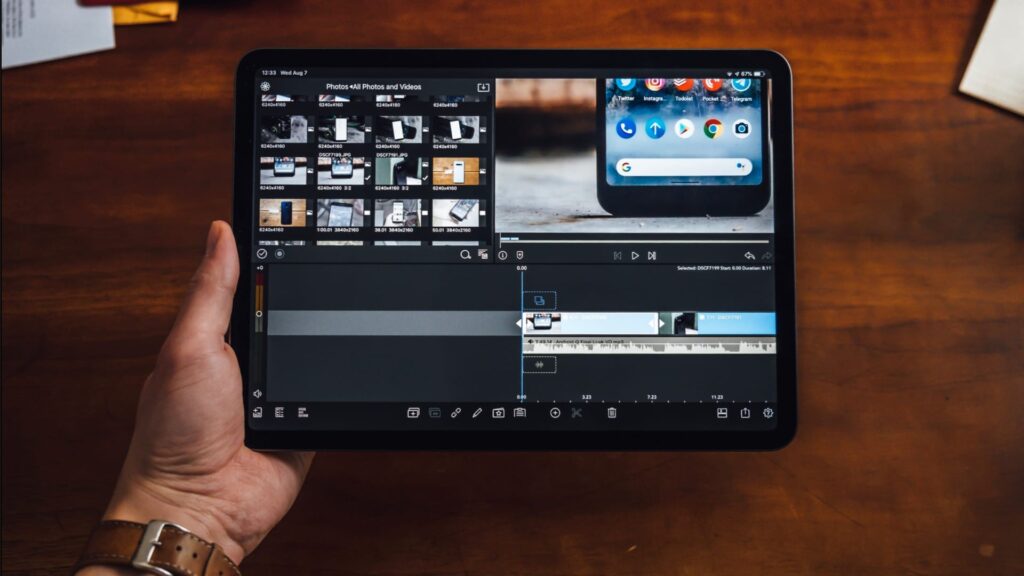
Various transitions can be like in your editing program (classic – blurring, darkening, etc.). You can also find and download individual footage transitions on educational topics—for example, animated inserts and individual elements.
Changing the angle is rarely used. To do this, you need to have several cameras or special devices for shooting on the move at your disposal. But animated inserts are often used. However, it should not be too much of an animation. This also applies to transitions between video fragments, which will give your video a modern style.
Change of scale, shooting angle, transitions, etc., will allow you to manage the attention of viewers and maintain their interest in the process of watching the video.
Do branding

The use of logos, links to social networks, and inserting a video with your beloved in your contributes to your recognition and allows you to protect copyrights. How easy is it to add a logo to a video?
The logo can be added when editing it in a particular program or directly on YouTube. To do this, enter the creative studio, then go to the “Channel” – “Corporate identity” tab and add the channel logo. It is better to use an image with a transparent background and a .png extension as a logo.
Don’t neglect end screensavers
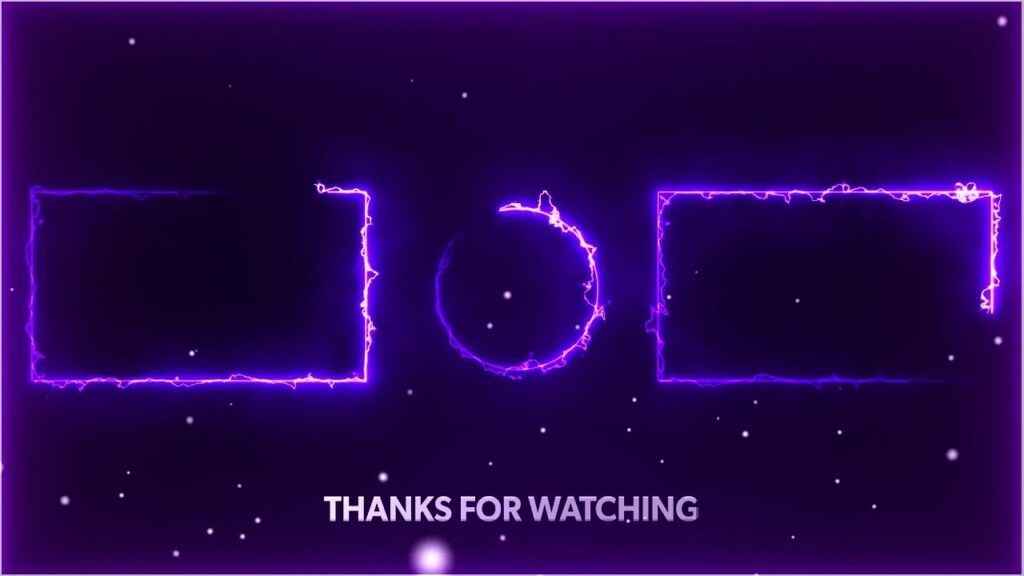
End screensavers are a YouTube channel tool that allows you to showcase links to your other videos or playlists. End screensavers can be used to group your videos and tell viewers where else to find your videos on a given topic.
How to add an end screen?

To add end screens, in video editing mode, go to the ‘End screens’ tab and click on the ‘Add item’ button. You will see a list from which you can choose the appropriate option. Usually, a button for subscribing is indicated, as well as a link to a particular video. It is best to choose one on a similar topic.
You can use special footage as end screens that are added when editing a video. This helps create your recognizable style.
Define your target audience
People tend to have a vague idea of the target audience. Many people say that the target audience needs to learn to speak English or understand the intricacies of content management. Basically, these are all people. Even if you are shooting a video lesson, not for a general audience, but, for example, for students or sales staff, it is important to determine the target audience. This will help you aim better and make the video as useful as possible.
You can understand who your viewer is by answering a simple question How well do viewers understand the subject? There is always a lot of general information, digressions, and explanations in a lecture for beginners. The advanced here will not learn anything new. They will be interested in a lecture that will immerse them deeper into the subject. Do not forget about the age of your audience as well, this is important when composing video content and the format of the tutorial.
Use professional software

When creating screencasts or editing, you can use various paid and free programs, online and local. Unfortunately, free programs have only the bare minimum. They do not allow creating animations, transitions using the chroma key. It is worth paying attention to professional programs:
- Camtasia Studio
- Adobe After Effects
- Sony Vegas Pro
However, the cost of such programs is a little scary, and the realities of educational organizations are such that the management is reluctant to purchase the software. Only pirated copies remain, the use or non-use of which is left to the reader’s personal choice.


