Are you tired of the mundane bathing routine? Do you dream of a refreshing, spa-like experience within the comfort of your own bathroom? Look no further! Installing a detachable shower head can revolutionize your bathing experience and provide you with unparalleled convenience and versatility.
In this comprehensive guide, we will walk you through the step-by-step process of installing a detachable shower head, enabling you to transform your daily bath into a luxurious retreat. Get ready to bid farewell to boring baths and say hello to a new level of relaxation and rejuvenation!
Gather Your Tools and Materials

Before embarking on your detachable shower head installation journey, it’s essential to gather the necessary tools and materials. You will need an adjustable wrench, plumber’s tape, a screwdriver (if required), a pair of pliers, and, of course, a detachable shower head kit. Make sure to check the package contents and read the manufacturer’s instructions before proceeding. Having everything you need readily available will streamline the installation process and minimize any interruptions.
Shut Off the Water Supply
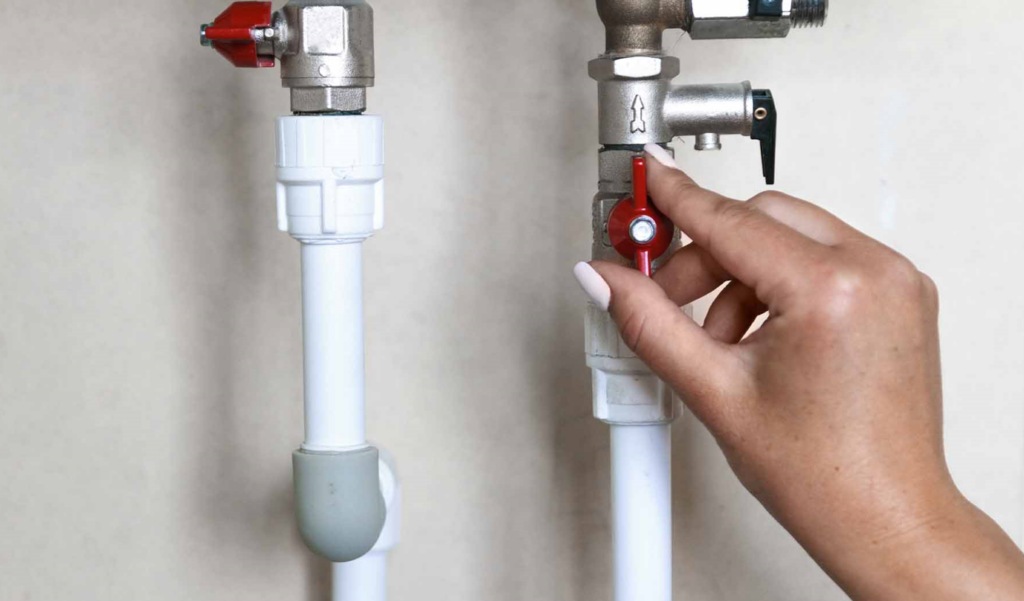
Safety first! Before beginning any plumbing project, it is crucial to turn off the water supply to your shower. Locate the shut-off valve, usually situated near the shower or in your basement. Turn it clockwise until the water flow stops completely. Once the water is shut off, relieve any residual pressure by turning on the shower and letting it run until the water stops flowing. This step will prevent any unwanted surprises and ensure a smooth installation process.
Remove the Existing Shower Head
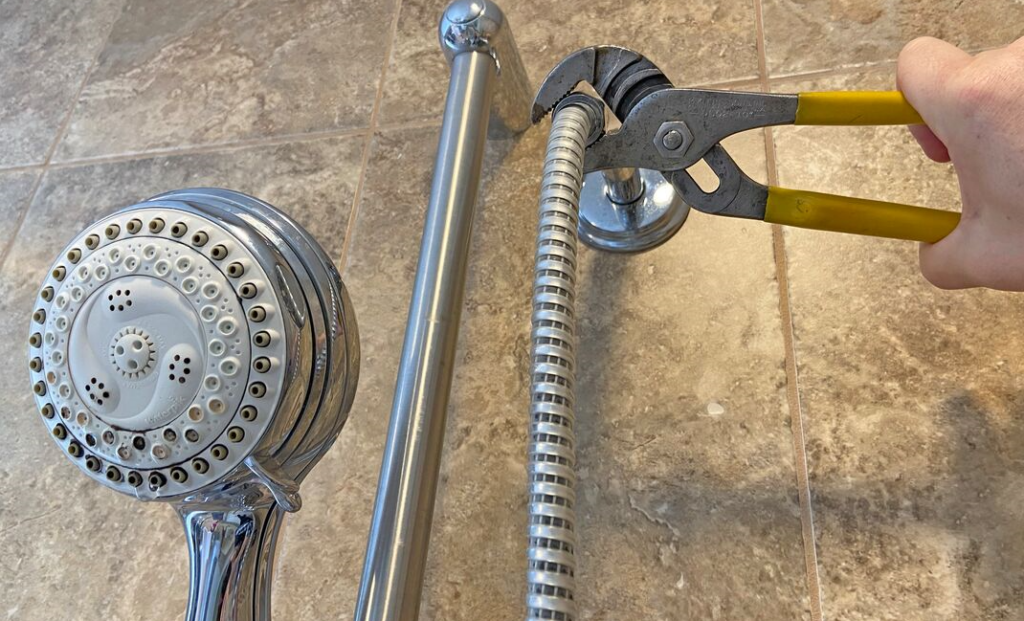
Now that you have prepared the groundwork, it’s time to remove the existing shower head. Wrap a cloth around the shower arm to protect its finish, then use an adjustable wrench or pliers to loosen and unscrew the head in a counterclockwise direction. Once the head is removed, check the arm for any debris or mineral buildup. If necessary, clean it thoroughly to ensure optimal water flow. Applying a little plumber’s tape to the threads of the arm will also help create a watertight seal during the installation.
Install the Detachable Shower Head Holder
Many detachable shower heads come with a holder that can be mounted on the wall. Position the holder at your desired height, ensuring it is within easy reach. Mark the screw holes with a pencil, and use a screwdriver or drill to secure the holder in place. Double-check the stability of the holder and make any necessary adjustments. This step is crucial as it provides a convenient and secure place to hang your detachable shower head when not in use.
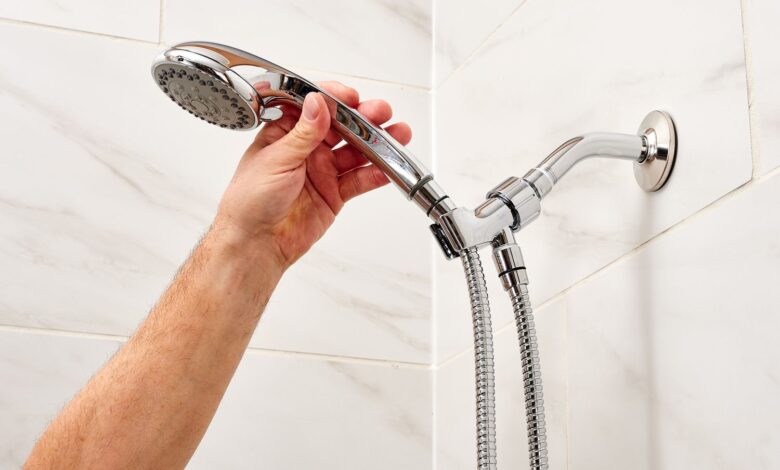
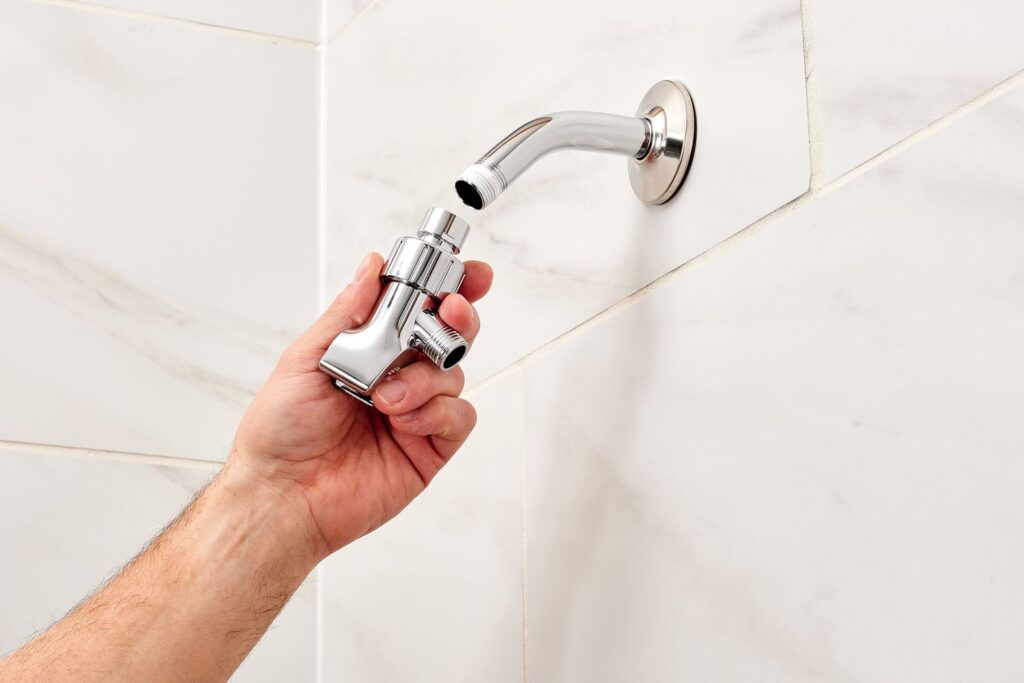
Attach the Detachable Shower Head
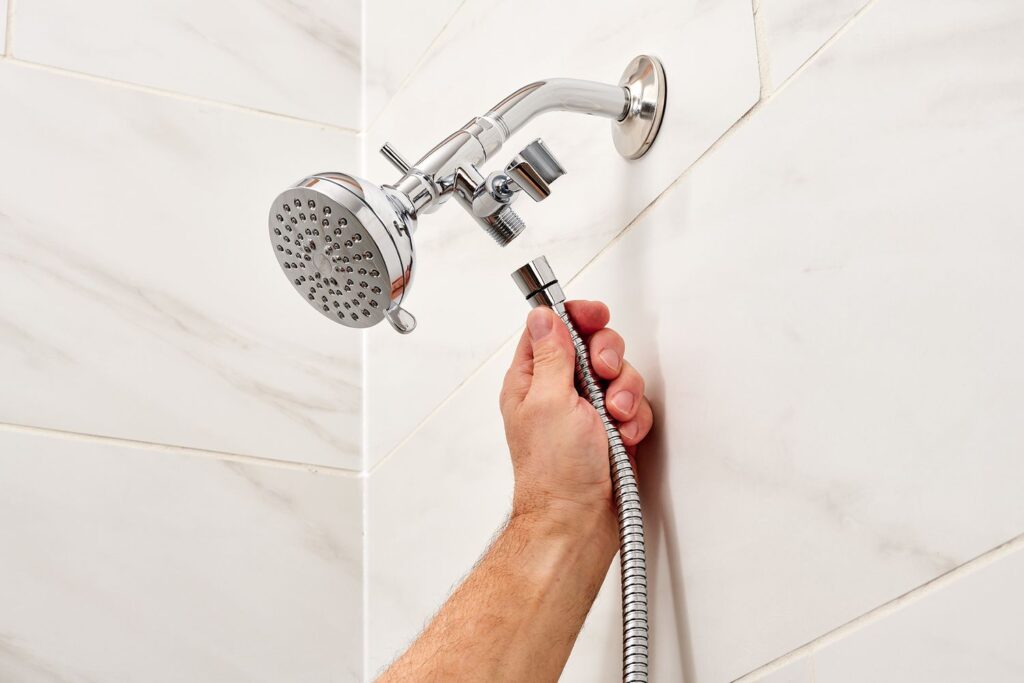
Now comes the exciting part – attaching the detachable shower head itself! Most heads have a simple twist-on installation mechanism. Apply a layer of plumber’s tape to the threads of the shower arm to ensure a tight and leak-free connection. Align the head with the arm and hand-tighten it in a clockwise direction. Use an adjustable wrench or pliers to give it a final snug turn, being careful not to overtighten and risk damaging the shower head or arm. Congratulations! You have successfully installed your very own detachable shower head.
Conclusion

With the installation complete, it’s time to step into a world of bathing luxury. Embrace the versatility and convenience of a detachable shower head, and elevate your bath experience to new heights. It’s time to pamper yourself and transform your daily bath into a rejuvenating escape.