You might have gotten tired of looking at the cables all-around your television, computer, or appliances in your home, and if so, you should know that one of the best ways for hiding them all is to install them inside your walls. Although a lot of people think this is a difficult project, it is, in fact, relatively easy to do so.
If you found yourself in this situation, this how-to article might be able to help you. The text below is going to feature a list of tips for successfully and easily installing in-wall wires coming from various devices in your house. Let’s take a closer look at the 9 tips you should keep in mind:
1. First Things First: Determine Where They Will Be Placed
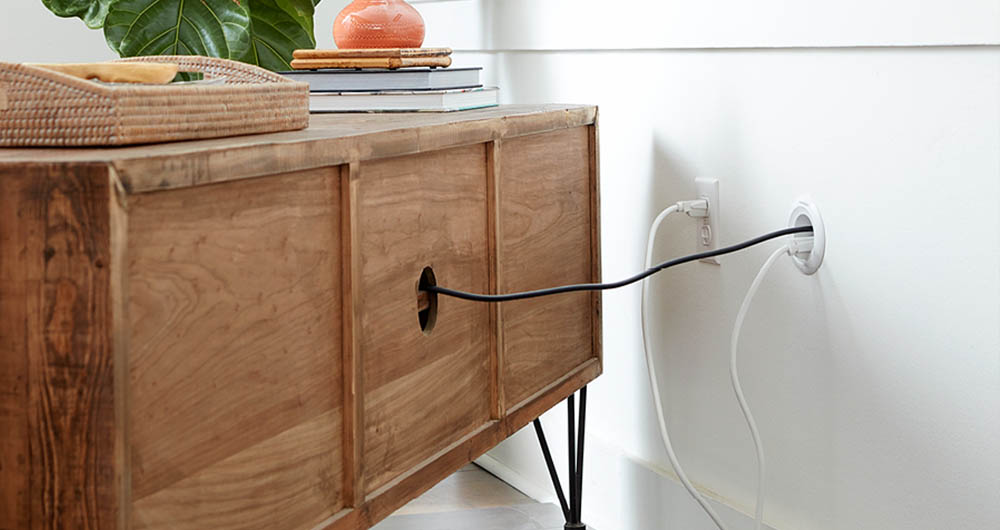
One of the first things you’ll need to decide on is where the cords will go. This means that you’ll need to determine where you will place them. Now, this is not only important for the look of the room but, it will prevent you from damaging the wiring that is already inside your house.
The easiest way to do this? Use a stud finder. The stud finder will be able to tell you whether or not there are any obstacles like blocks, wires, or headers. You must do this in order to prevent mistakes that can lead to expensive repairs, especially if you damage pipes or other cords.
2. Purchase a Mount Bracket
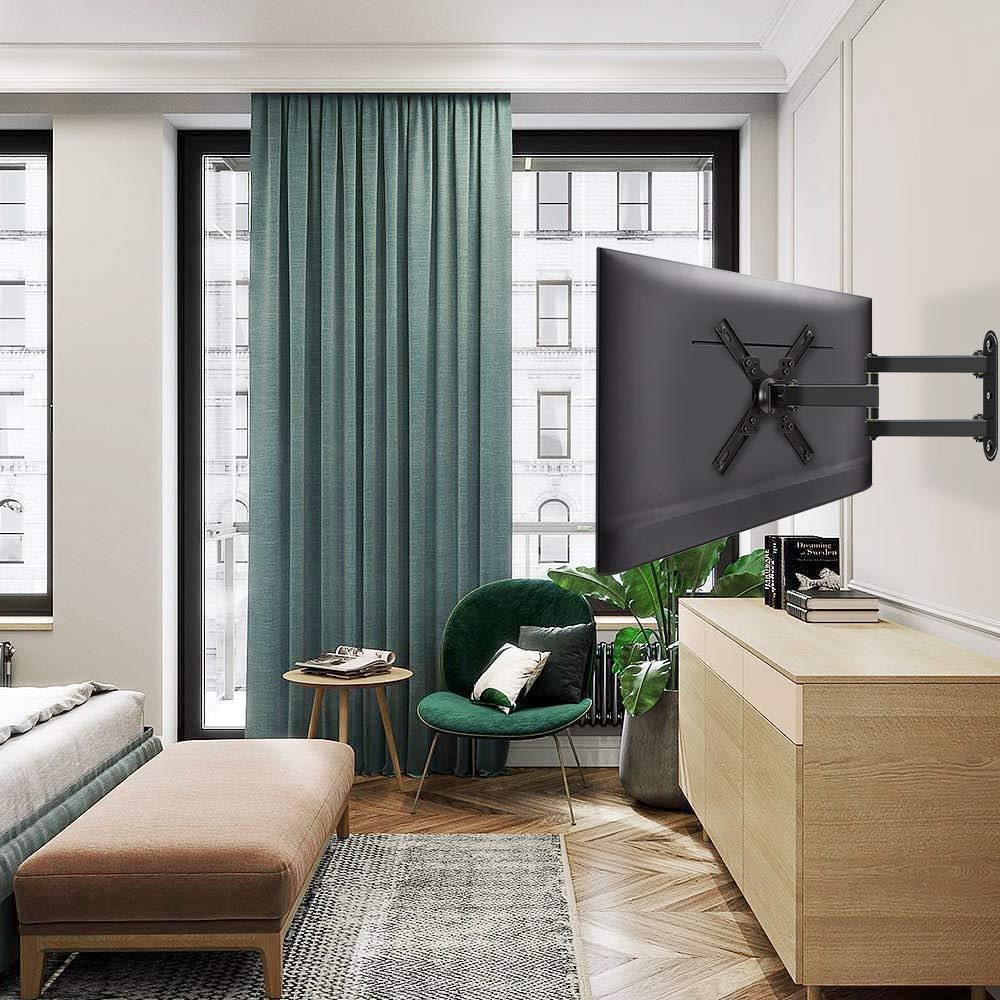
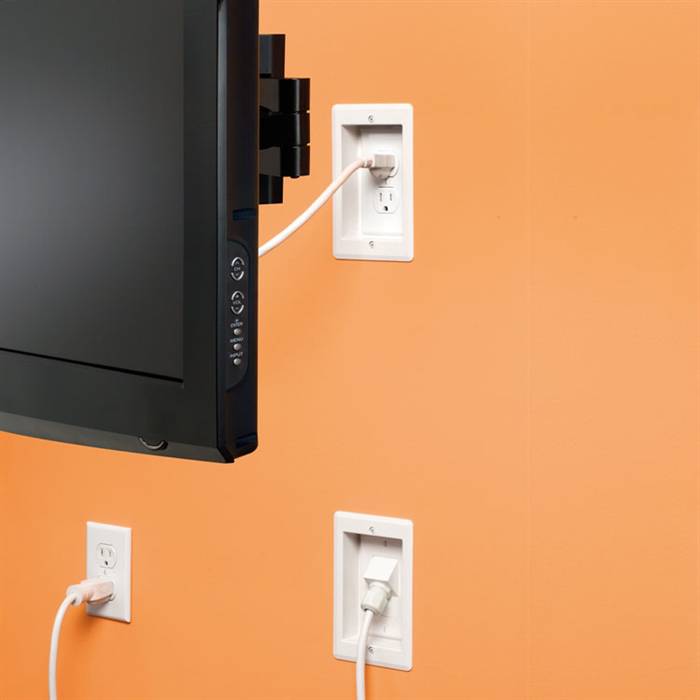
A wall mount bracket will easily hide all the cords connected to your devices or appliances. When it comes to choosing it, look for one that has power connectors that will allow you to install it by yourself, without an electrician present. Also, you should consider the color of it, which is especially important if you want it to suit your room design.
3. Gather Your Tools And Equipment
You’ll need to gather several tools before installing everything, including a saw, a level, a screwdriver that suits the screws that come with the mount, and the aforementioned stud finder. Additionally, you might need several rubber grommets that will protect and insulate the wires passing through the mount. If you want to see which ones you can opt for, check out rubber-grommets.com for more information.
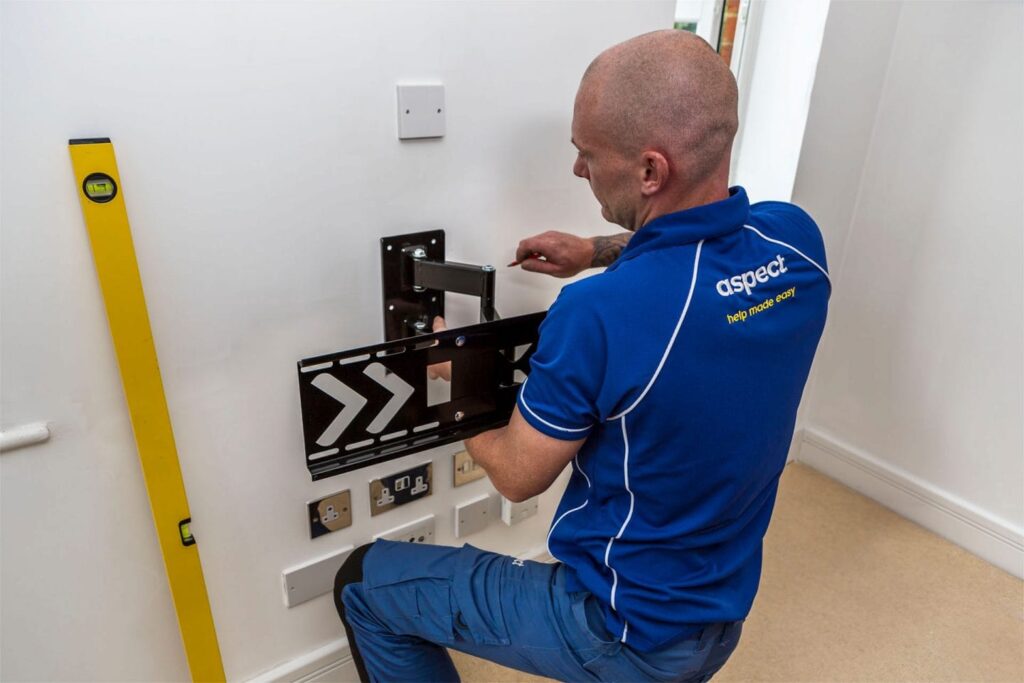
4. Checking The Surface And Determining The Placement
Before actually cutting anything, you should first turn the power in your house off. This will ensure that you do not get hurt if you accidentally hit the electrical wiring in the walls. The next step is to align it between the framing studs. This will require you to use the stud finder that you should run both horizontally and vertically. You can choose to install it in any direction, including right, left, vertically, horizontally, below your devices or above it, as well as next to the appliance or TV.
5. Marking The Area And Cutting It
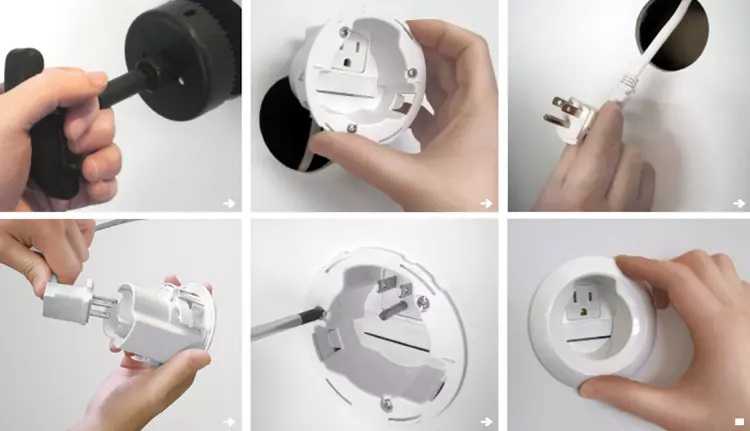
You’ll either get a template sheet that you can utilize for marking the area where you’ll cut, or you can even use the real mount to do so. Whatever option you choose, you should mark the area and before you cut, use the level to ensure that it is aligned properly. Next, you’ll need to use the saw in order to cut along the lines you marked.
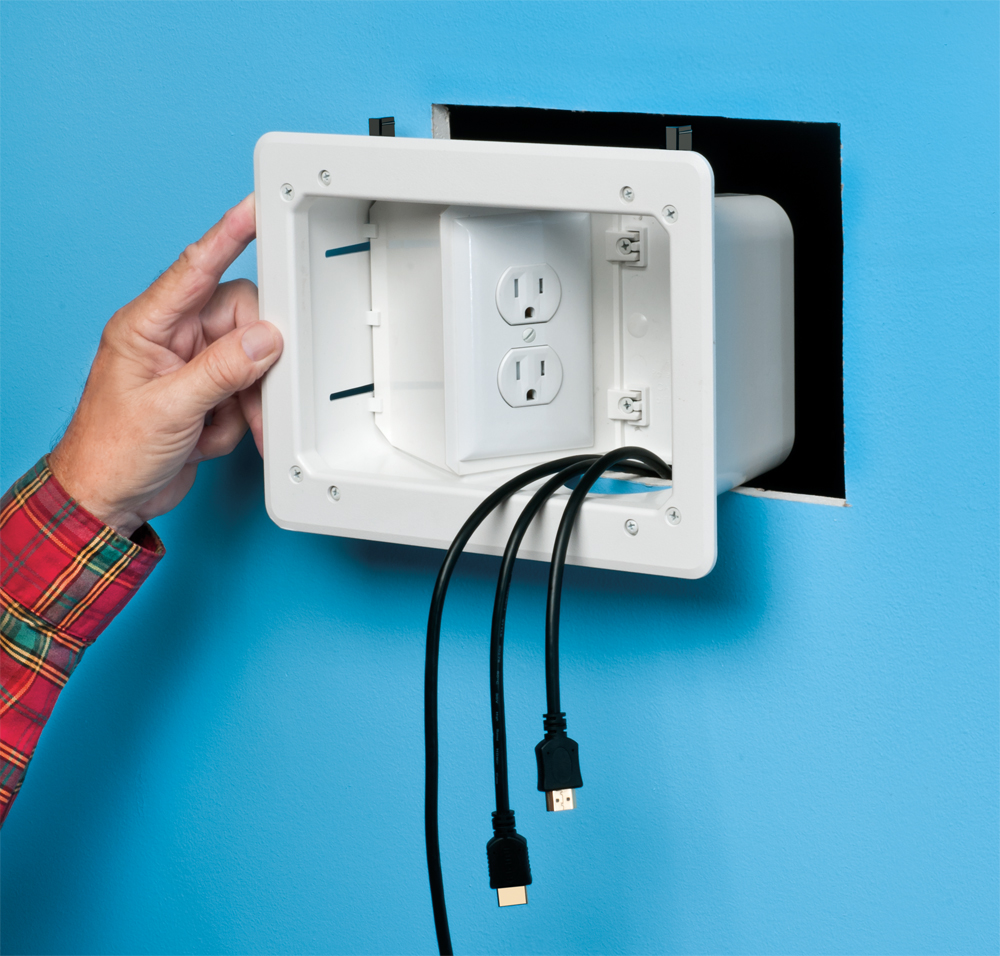
6. Adding The Wires to The Brackets

You’ll have to points – the Power Out and Power In. When installing them, you should first place the audio/video wires and connect it to the power in point. You should repeat it with the wires that are connected to the power as well. Next, slide the rest of the cords through the backside – which is when you might want to use the grommets mentioned. If you want to protect them even further, you can also use zip ties.
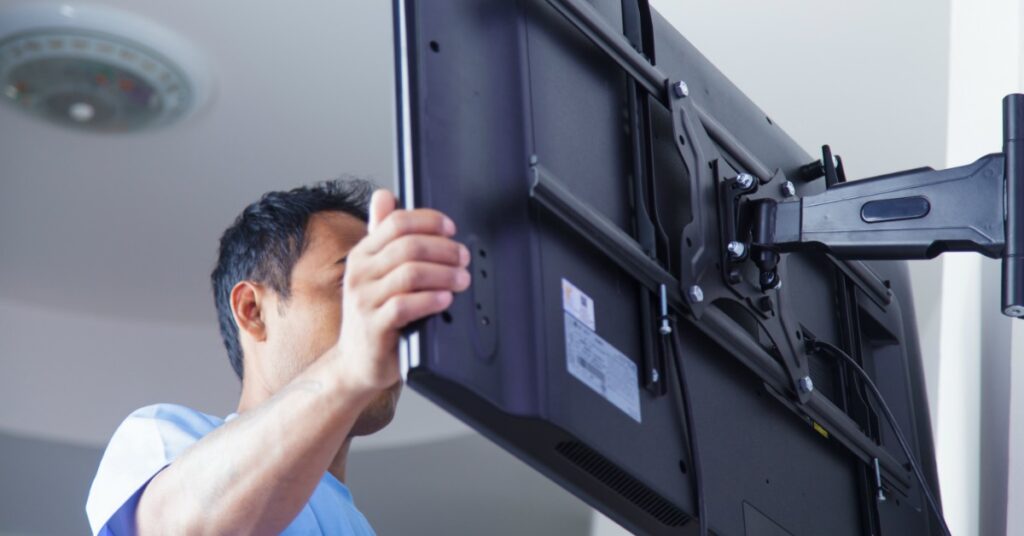
7. Ensure That They Can Reach The Devices And Appliances
Be careful when placing the cords, which is especially important if you want to be able to connect it with your TV, appliances, and other devices. If you do not do it properly, you might end up wasting time on taking everything apart and then setting the cables properly back again.
8. Mount The Panel Properly
The screwdriver you use will depend on the screws that come with the kit. You should slide the panel onto the mount, and then use a screwdriver for securing the panel. You should keep in mind that you should not over-tighten it since it might cause the panel to bend. Once done, connect the power and connectors together, which is when you should hear a “click” sound that will lock all the pieces. Repeat for the rest of the cords.
9. Plug Everything in And Turn on The Power
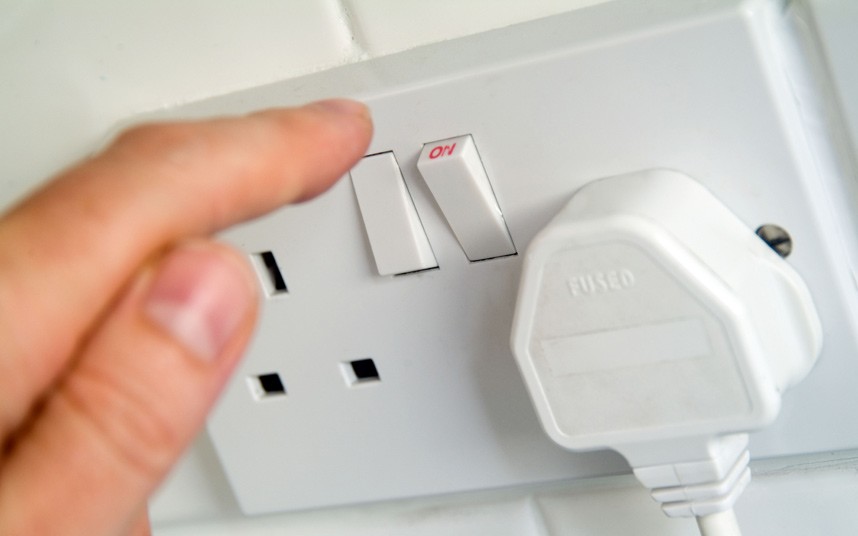
Last on this list is plugging the power cable into the outlet and turning back your electricity. Once you do so, the mount will be energized, and you’ll finally tie the entire look of the room together. You should keep in mind that you should not use an additional extension cord since it can create a surge.
Bonus Tip – Paint it!
If you were not able to find a wall mount that suits the colors in the room you are installing it in, you can always choose to paint it. Keep in mind that you should use paint manufactured for covering specific materials such as wood or metal. You can also choose to decorate it with other things – such as stickers – that will improve its overall look.
Conclusion
As you can see, there is a wide range of tips that you can use in order to install the cables inside your walls. By remembering the tips from above, you’ll be able to successfully hide the cables in your home without needing to call an experienced electrician or installation company.
So, now that you know what you’ll need, as well as the steps you should take, do not waste any more of your time. Instead, start browsing online, and brick-and-mortar businesses in order to find the tools and mount that will suit your needs and requirements.