Having a website is a must if you want your content and ideas to flow to a wider audience. Everything you create can be available to other markets and other people only through your website.
Websites aren’t hard to create anymore. With technology development and with app and software you can create a pretty decent website in a day. There is not a single soul on this planet that can tell us that they haven’t heard about WordPress. WordPress is easily the most famous and most popular piece of software for website creation. It is easy to handle, easy to use and easy to learn how to get around it.
WordPress is awesome because of the vast number of themes and extensions that can be applied and thanks to that most schools have their sites built with WordPress. You can use it to make anything from an educational site, resale site, fun facts site or a site that revolves around all kinds of videos thanks to different themes that can be found on places like https://www.templatemonster.com/category/education-wordpress-themes/. If you are on the hunt for a cool new theme make sure you check them out and see what they’ve got in store.
Today’s article will revolve around educational websites and just how to make one using WordPress. Let’s assume you haven’t done this ever before and that you are just starting. Follow these easy steps.
1. Web hosting and name

To get things up and running your first order of business is to think of a name for your website and choosing a hosting provider. These shouldn’t be too difficult because of you are here then you probably already have got the name and the theme which should be educational. The web hosting service part is also easy because there is a bunch of really awesome web hosting services. If you Google a bit then the top three web host services should be Bluehost, Dreamhost and Hostinger. These three are by far the best ones out there and choosing any one of these will not make a lot of difference. They are all incredibly secure with fast service which is important for your website to run quickly and stable. When choosing look for the hosts that have all of these positives but also look for ease of WordPress integration with them. This will make your life a lot easier. Look for bargain deals such as lower rates on the hosting service, but also look for discounts with domain names which usually cost an extra $30-$50.
Next thing is to select your plan, create a domain name and check its availability. After that insert your required info, choose the hosting period and pay the people. After that create the account with the hosting service and depending on the hosting service next steps will be creating your website and entering a few key things, like selecting the theme and choosing the one that suits you best.
2. WordPress
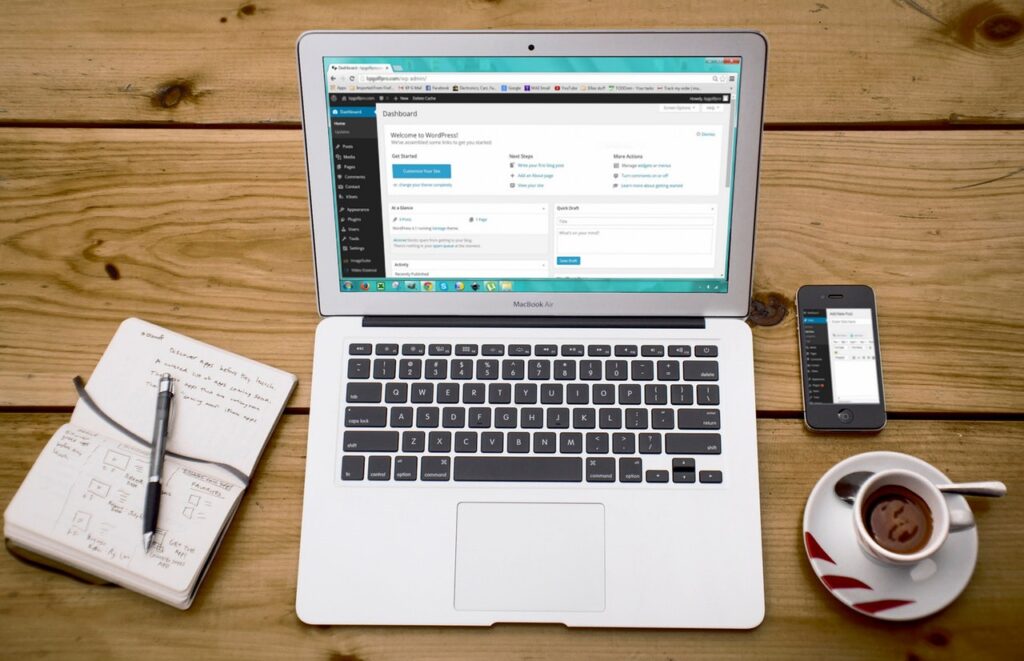
After choosing the theme your hosting service will install that theme and WordPress. After that, you will log in to WordPress and continue from there. In the WordPress on the left, you have a dashboard and there you will find all the tools you need to create an awesome educational site or any other type of website. What should be the first thing is to change your user name and password for WordPress and you can do that under a user tab. After choosing your theme and installing it on WordPress next thing is to install a plugin. The most popular theme and the easiest to operate is called Astra and it has its plugin as well. Astra will help you make a perfect website without any coding knowledge. All you will have to do is drag and drop and change fonts, texts, sizes and colours on the fly. Again Astra will have its theme library and you can go and check it out to find the one that suits your need best.
3. Page builder
A nice thing about the Astra theme and plugin is that it has a neat page builder called Elementor. After choosing the theme and reviewing how it looks import it to your site and start editing it to your likeness. As we already mentioned Elementor is awesome because everything you do is drag and drop, pick and choose, no coding no hassle and most importantly no headaches. Changing text means you have to hover over it click it and just start typing what you want. It strips the complication of coding and brings you to work in a Word document. Button changes and placements with this plugin is neat and simple. Click, edit, move and resize in a few simple clicks. Changing images is also easy simply find an image you want to change or edit and simply pick out another one and upload it. Just like you would do with images that you upload to your social media.
4. Save and update

After any change on the bottom of the Elementor plugin will be a save button that will update automatically all your changes and all of them are instantly visible on the live site after that. We don’t believe that it could be any easier than this.
In the end, we just want to say that this process is the same for every type of website you want to create all you have to do is decide on its purpose and make a theme choice according to that. Everything afterwards is as easy as we described and if you don’t believe us try one out today. You will see that WordPress offers all the benefits especially to those who just want a website live without any previous knowledge about making one or without knowing the ins and outs of coding. WordPress today is something that is a must if you have this background and if you want a quick and easy window to the world.
This small four-step guide should take you no longer than ten minutes to set up and that is without much editing. As we stated at the beginning with editing and adding content to the site you should be up and running in a day or two depending on your skills. Try it out and give us the feedback – were we spot on with how easy it was or did you have problems?!