The iPhone is an emblem of modern technology boasting an extensive array of features geared towards personalization. One of these features is the ability to set ringtones from files, which adds a personal flair to your device.
In this blog post, we will explore a detailed tutorial on how you can set your iPhone ringtone from files. Join us on this exhilarating exploration of a straightforward yet gratifying process to personalize your iPhone’s ringtone.
Preparing Your Audio File
Before embarking on the journey of changing your ringtone, it’s pivotal to have your desired audio file at the ready. This section sheds light on the preparation of your audio file for the process.
Selecting and Converting Your File

A captivating ringtone should be a fine blend of fun and non-disruptive. It’s wise to opt for a file with a lucid, sharp sound. The iPhone resonates well with the .m4r format, which might necessitate converting your chosen audio file to this format. Audio conversion tools like Audacity or any online converter come in handy for this task.
Free and user-friendly, Audacity stands out as a superb tool for this chore. Once you have Audacity up and running, simply open your file and export it as a .m4r file. On the flip side, online converters offer a rapid solution. Just upload your file, choose the .m4r format, and voila, download the converted file.
Editing Your Audio
The hallmark of a stellar ringtone is a duration that hovers around 30 seconds. Utilize audio editing software to excise any undesired parts ensuring your ringtone commences and concludes smoothly.
Initiate by opening your audio file in the editor, trimming it to your liking ensuring it embodies a smooth fade in and out to dodge abrupt starts or ends. Once done, save your edited file, and voila, it’s now ripe for use as your ringtone. If you’re seeking inspiration or looking for professional-quality ringtones to edit, be sure to visit RingtoneLine.com.
It might spark some creative ideas. Their extensive collection could serve as a great starting point for your ringtone creation journey.
Transferring and Setting Your Ringtone
With your audio file in tip-top shape, it’s time to ferry it to your iPhone and crown it as your ringtone. Here’s a walkthrough.
Via iTunes
Transferring ringtones to your iPhone via iTunes is a breeze, albeit a tad traditional.
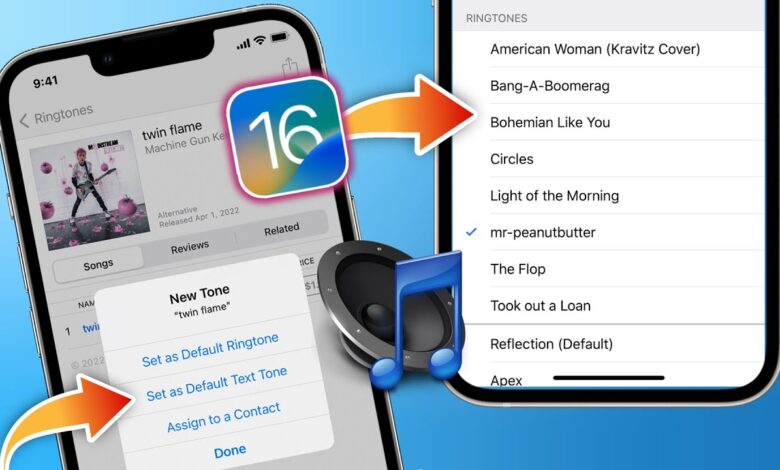
First, connect your iPhone to your computer and fire up iTunes. Drag and drop your .m4r file into the Tones section. Post-syncing, navigate to Settings on your iPhone, tap Sounds & Haptics, then Ringtone, and cherry-pick your new ringtone from the list.
Via GarageBand
GarageBand, a modern alternative, streamlines the process, especially for those sans access to a computer.
Kickstart by opening GarageBand on your iPhone, import your audio file, and adhere to the on-screen directives to save it as a ringtone. Similar to the iTunes method, navigate to Settings, tap Sounds & Haptics, then Ringtone, and select your new ringtone.
Conclusion
Setting a custom ringtone on your iPhone from files is a simplistic yet rewarding avenue to personalize your device. By adhering to the steps delineated in this tutorial, you’re on the cusp of flaunting a ringtone that’s distinctive and mirrors your unique style.
So, seize the moment and give it a whirl; your iPhone is yearning for a fresh new ringtone!